Data Management
Data Workspaces
All data in the aitios® platform (patient or sample metadata, uploaded or generated sequencing data, as well as derived processing results and reports) is organized into workspaces which manage access.
By default, a user has access to two workspaces:
Personal, the private workspace of the user
aitiologic, a read-only demo workspace containing example reports
Workspaces are assigned granular permissions for changing contained data. The following permission types can be independently changed:
Create: whether a user can create new data entries in the workspace, e.g. by directly uploading sequencing data via the upload form.
Read: whether a user can read data from the workspace. This is typically the case for all workspaces a user has access to.
Update: Whether a user can change existing data, for example: changing the description of a previously uploaded sample.
Delete: Whether a user can delete data entries in the workspace.
By default, Personal workspaces support any of the above operations, and the aitiologic demo workspace allows Read access only. The aitiologic team can provide additional workspaces configured to be shared among different users and with a desired set of permissions on request.
Changing the Active Workspace
Activate the settings sidebar by clicking the user avatar in the top right. To open a pop-up for viewing the workspaces available to your account and switching to a different one, click the sidebar entry showing your currently active workspace. Select one of your workspaces from the drop-down menu and click “Change” to confirm. The page is then reloaded and the selected workspace activated.
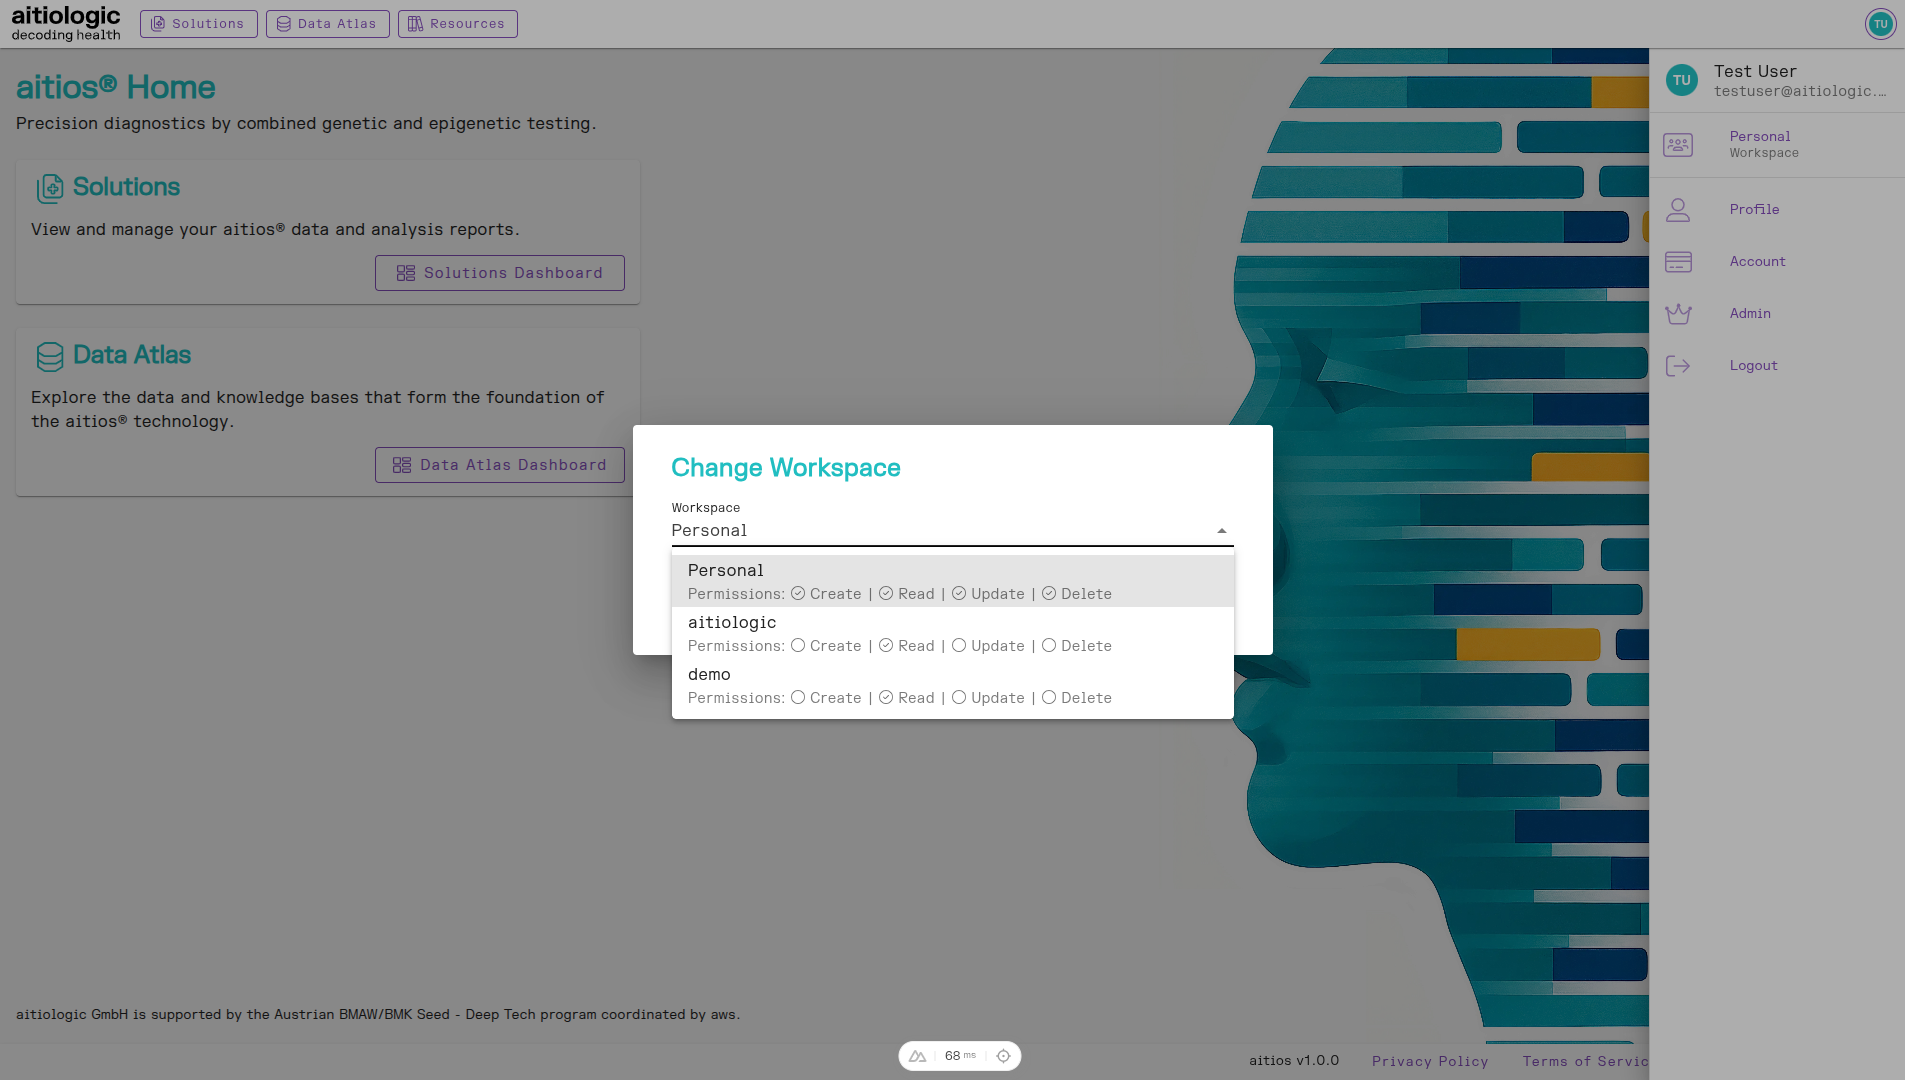
Changing the Workspace.
Uploading Data
To submit data to aitios® for processing and analysis, a User or Enterprise service plan is required. To upgrade from the free Guest service plan, get in contact with the aitiologic team as described here.
Users may directly upload BAM or CRAM files for processing with the aitios® platform.
To do so, login to aitios® as described here. Navigate to the aitios® Solutions Dashboard by clicking on “Solutions” in the top left of the title bar. To enter the upload menu, hover over the left sidebar (causing it to expand), and select “Upload”.
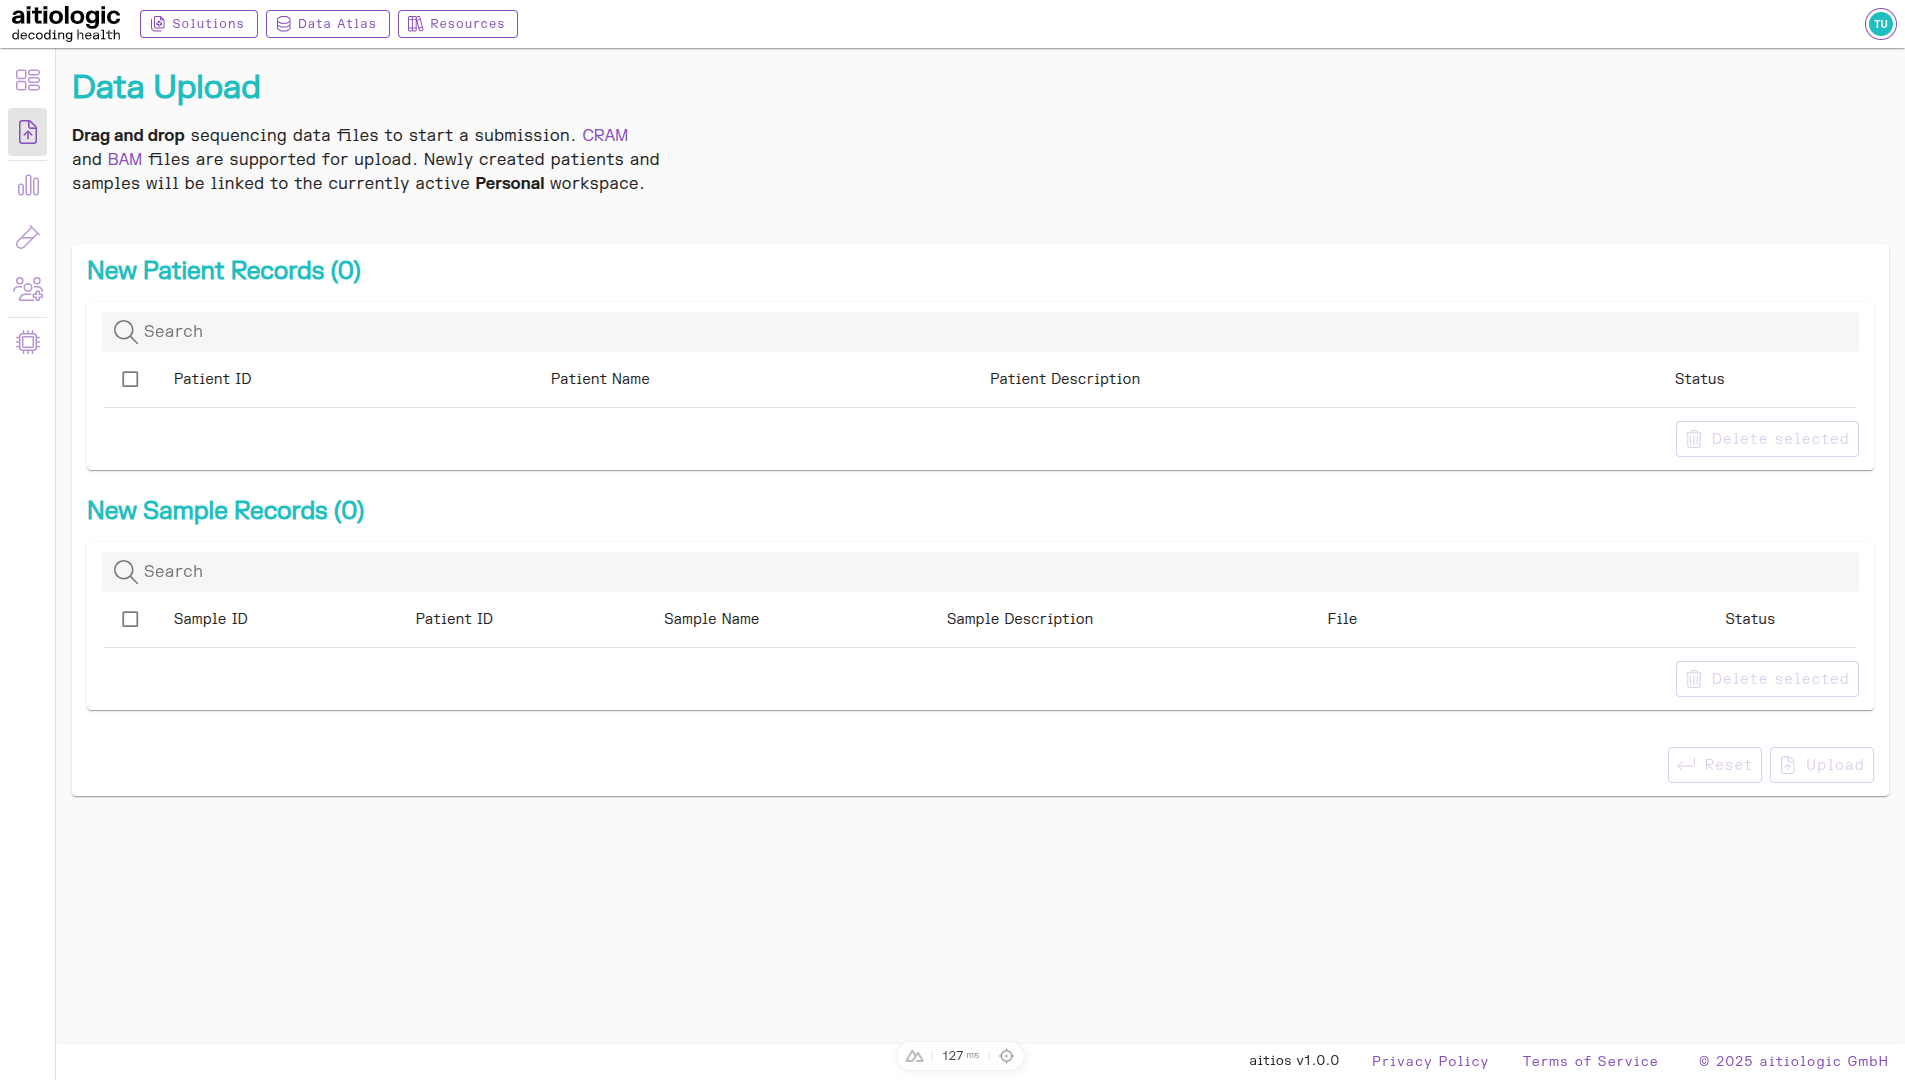
The data upload page.
Note
If the currently active workspace does not support uploading new samples, change to a workspace with Create permissions.
Drag and drop any to-be-uploaded files to the browser window. A pop-up window opens to add metadata:
Patient name (required, select from existing patients in workspace or add new)
Patient description (optional, only editable if creating a new patient)
Sample name (required, pre-configured with the name of the uploaded file)
Sample description (optional)
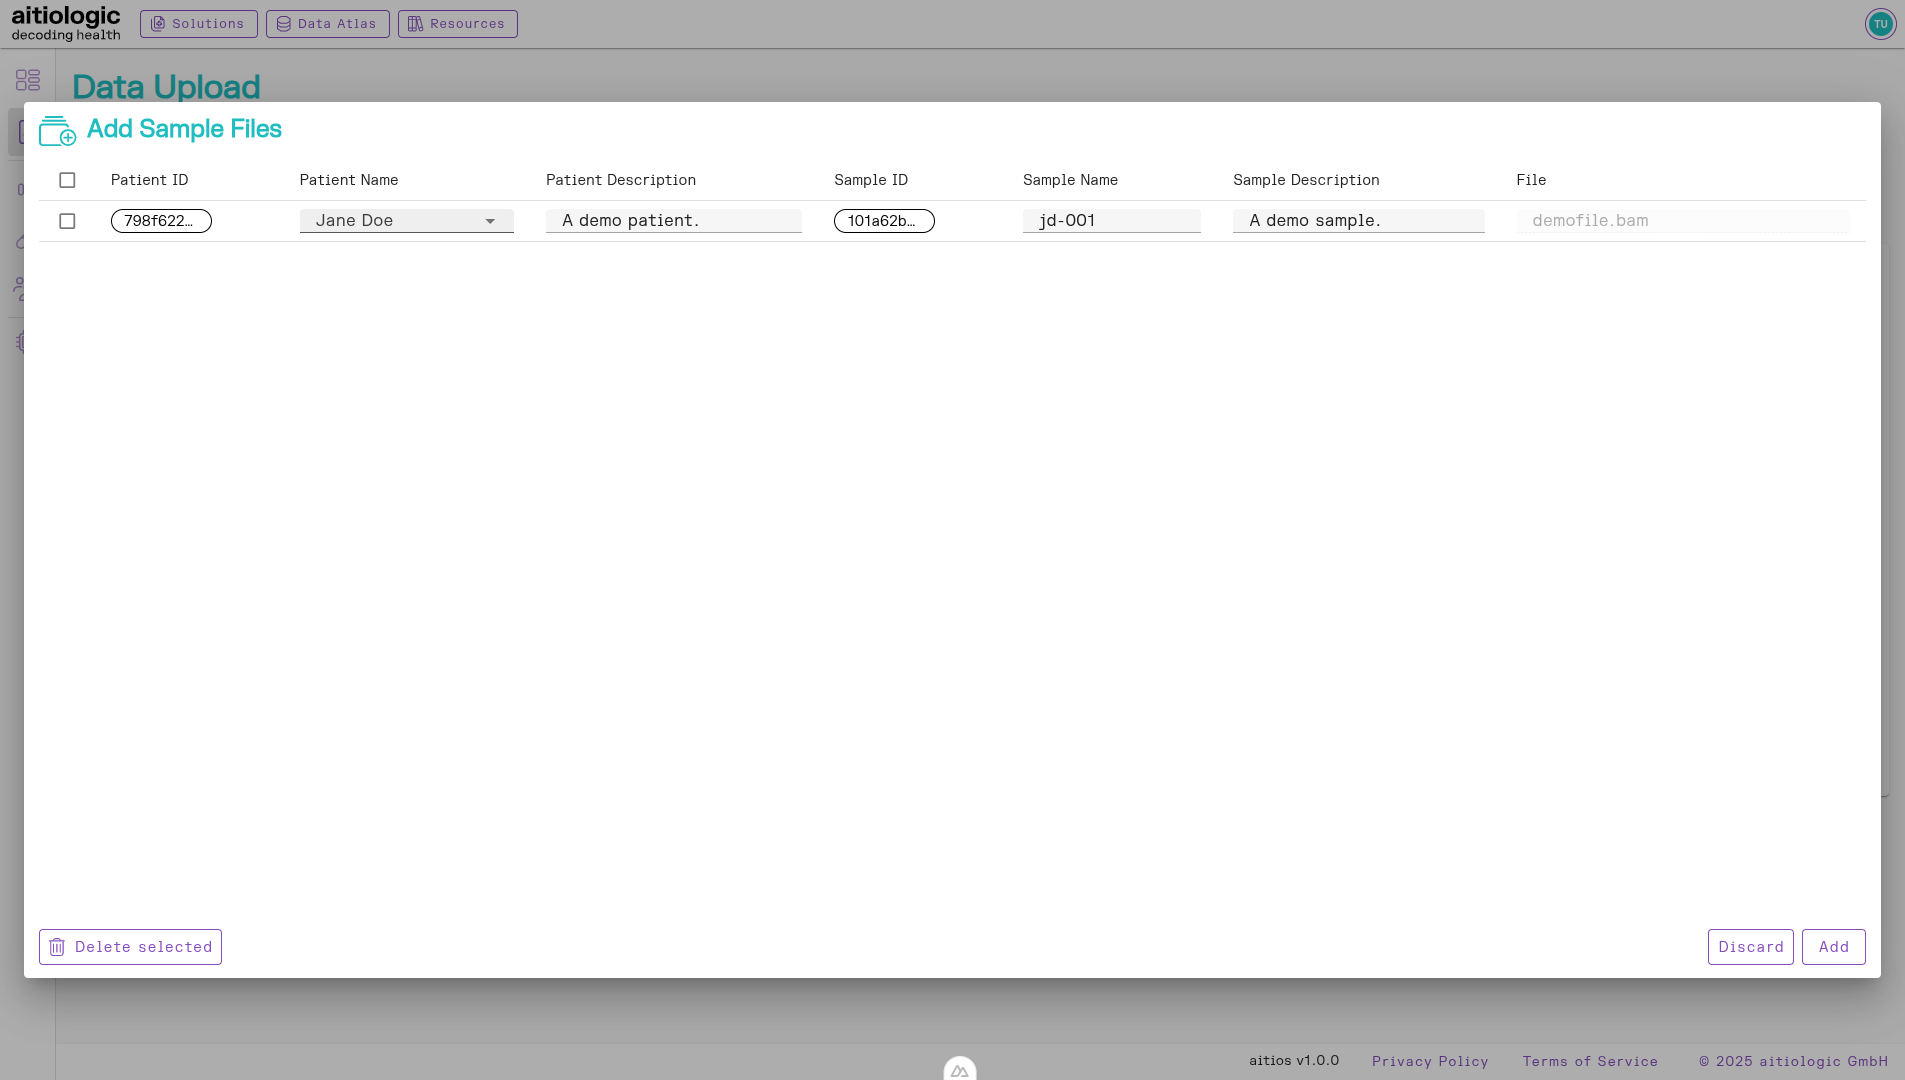
The metadata entry popup.
After filling out details, click the “Add” button to confirm metadata addition. The pop-up closes and a summary of to-be-uploaded information is displayed, including any to-be-created patients as well as to-be-created sample records.
To add more sample files, repeat the above procedure. To discard individual rows, select them and click “Delete selected”.
Note
Deleting a to-be-created patient will also delete all to-be-added sample records linked to that patient. To start anew, click “Reset” which will reload the upload mask without performing any of the pending uploads.
When you are satisfied with your pending uploads, click “Upload”. This will cause the creation of all patient entries, and will queue the upload of all provided sample files. A progress bar is shown for the sample which is currently being uploaded. Upload duration depends on internet connection speed and size of the sample file.
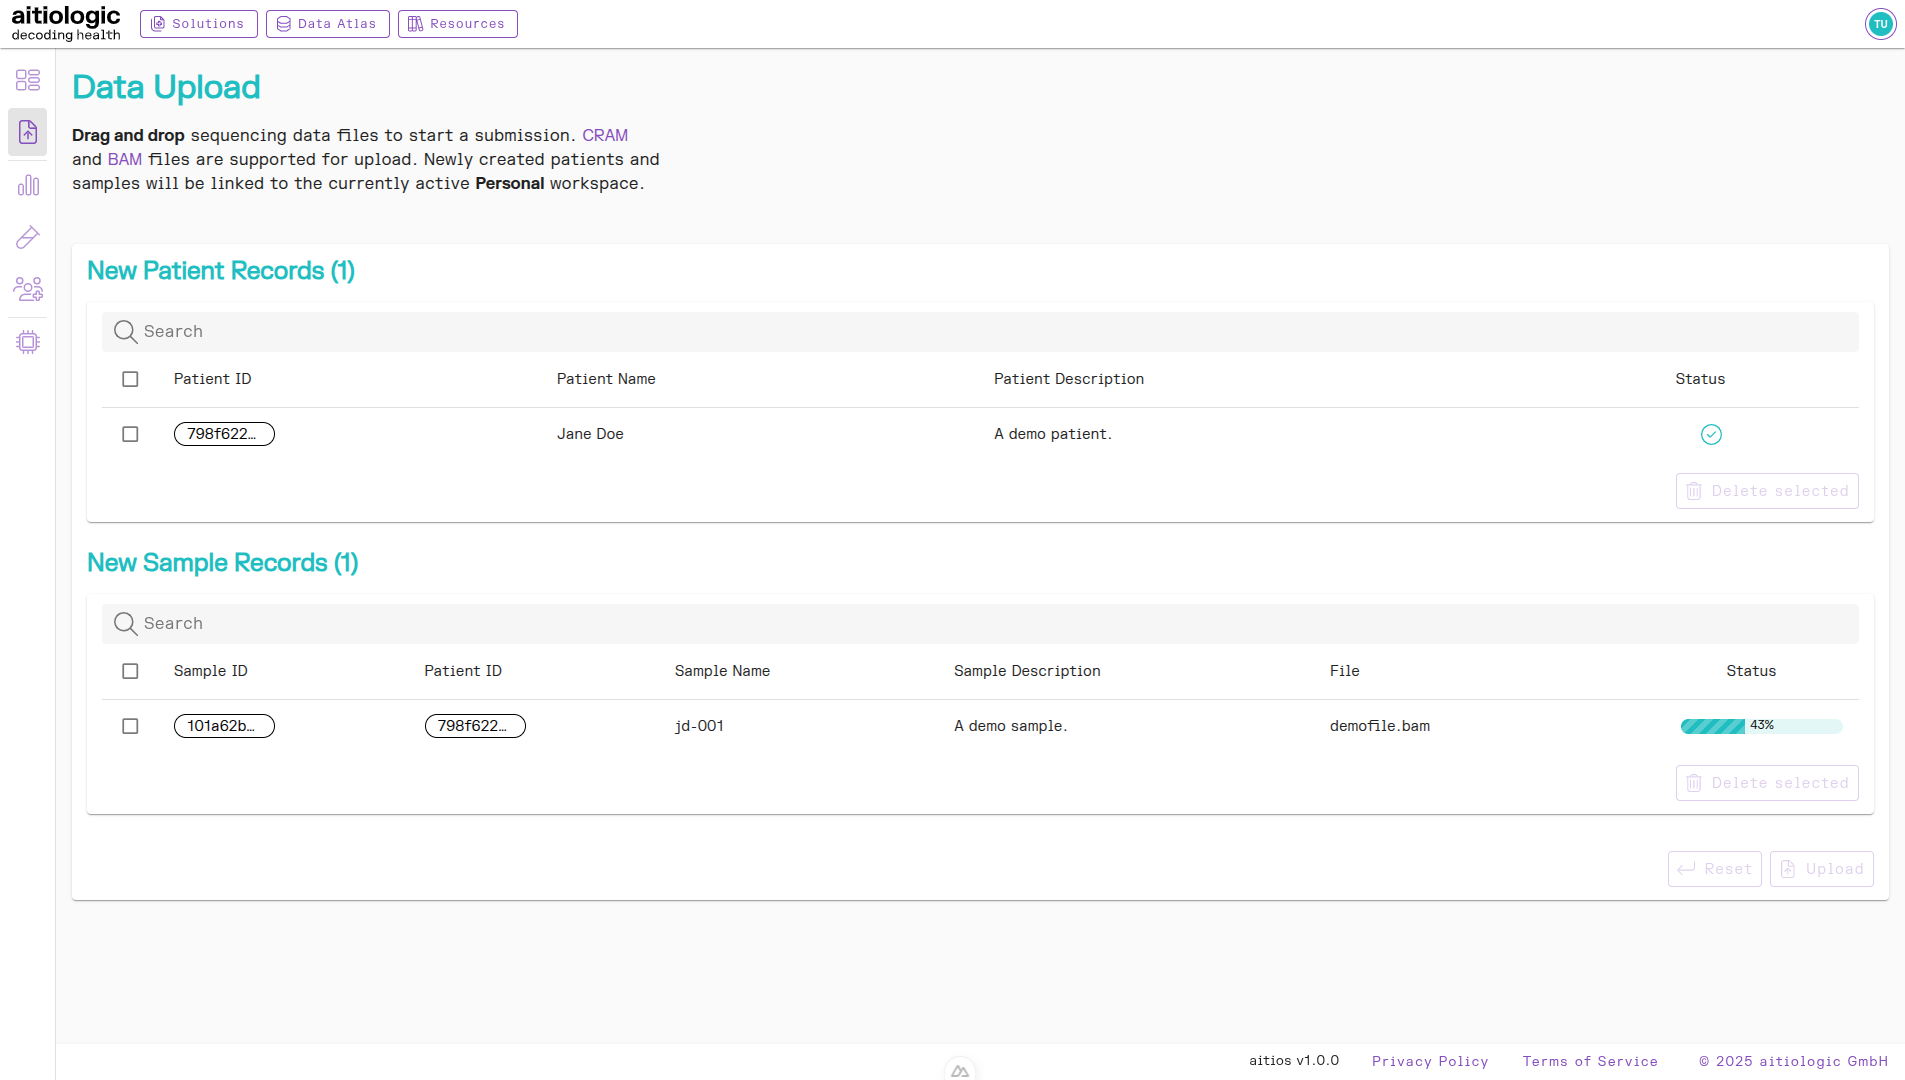
A data upload in progress.
Warning
Do not navigate away from the upload page or close the browser while there are pending or active uploads, as this will interrupt any pending or active upload.
After successful upload, all patients and samples show a green check mark, indicating successful upload. It is now safe to navigate away from the upload mask.
The Solutions Dashboard
Hover over the left sidebar (causing it to expand) and select “Dashboard”. The Solutions Dashboard shows a summary of the current workspace, including the number of patients, samples, and processing jobs, as well as the number of reports generated. Recently created or updated records are shown in the “Recent Events” section.

The Solutions Dashboard showing recently added user-supplied data.
Listing and Deleting Data
Listing and Deleting Patients
Hover over the left sidebar (causing it to expand) and select “Patients”. The page shows a table of Patients in the current workspace, including their assigned name and an optional description.
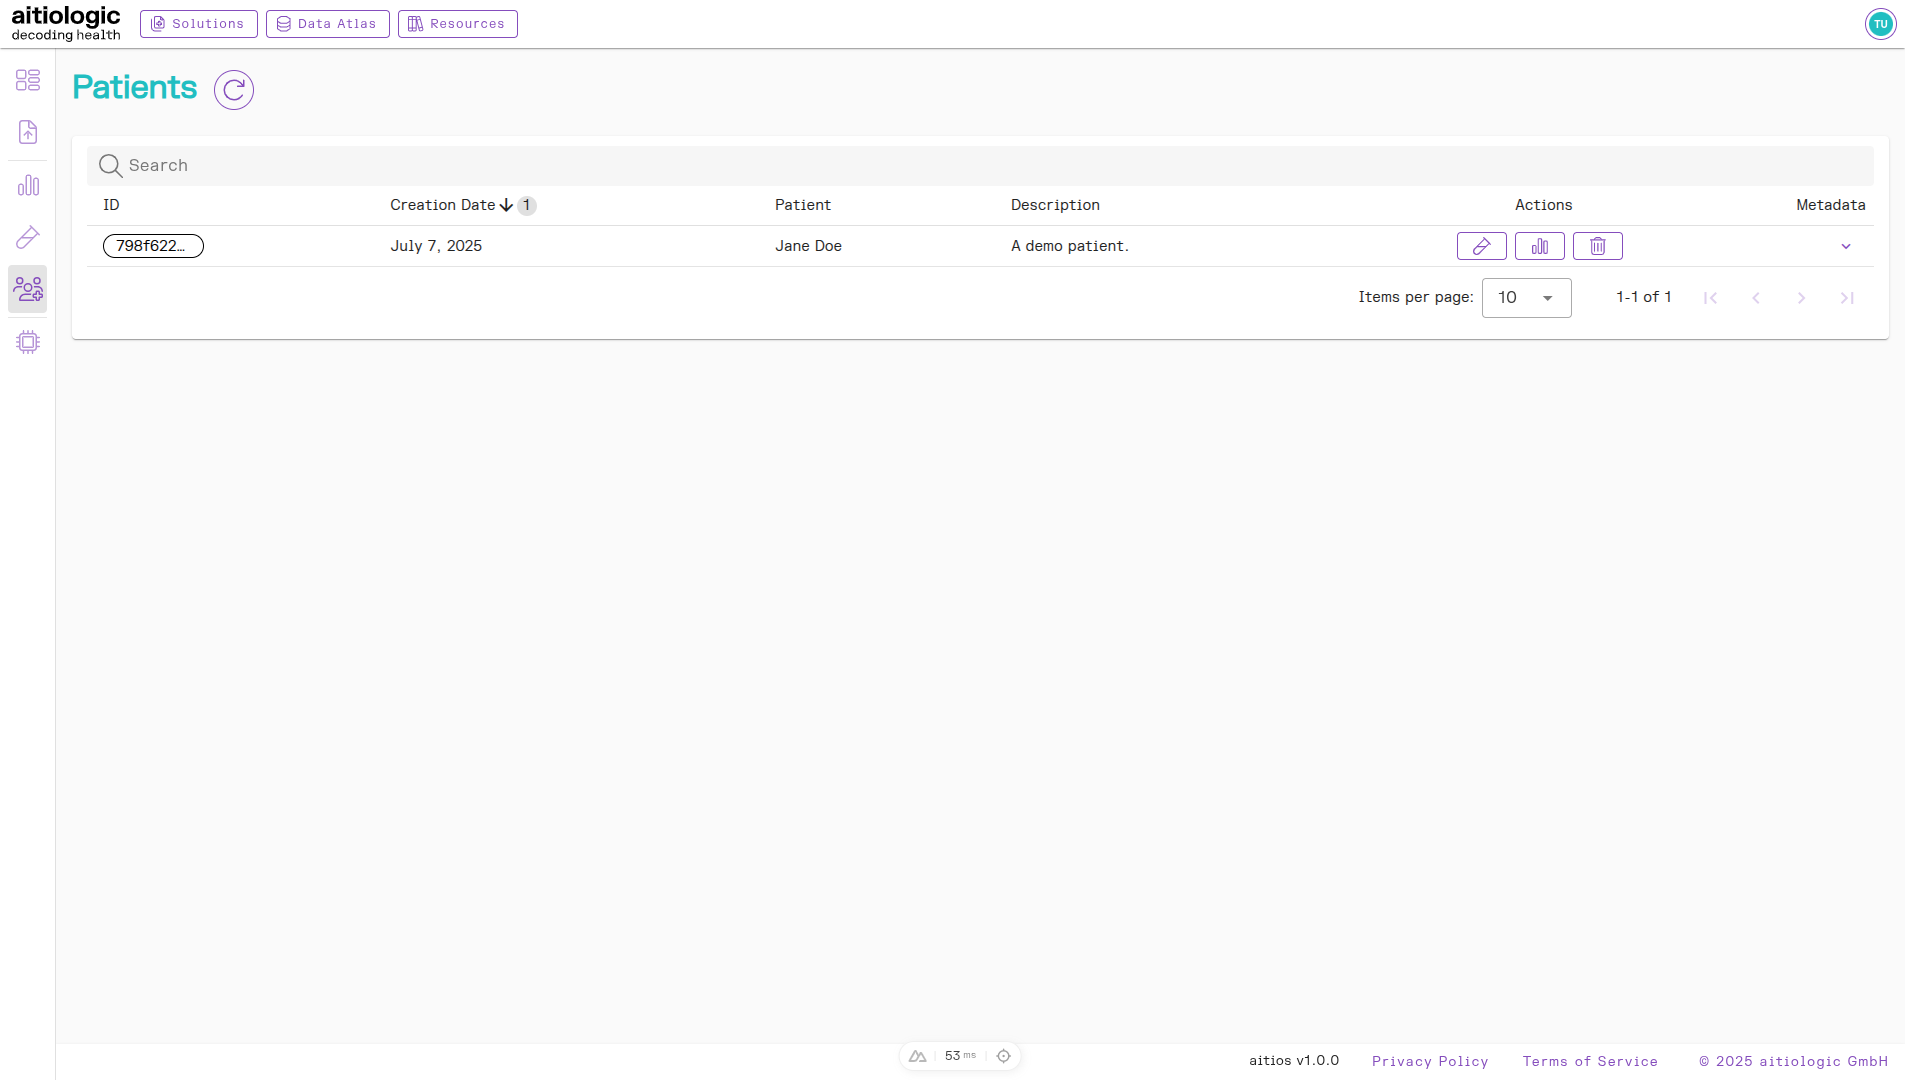
The Patients page.
To delete individual patients, click the trash bin button under the “Actions” column. This action is only available in workspaces with the “Delete” permission set.
Note
Deleting patients will also delete any data associated with the patient, including samples, job executions and resulting analysis reports.
Listing and Deleting Samples
Hover over the left sidebar (causing it to expand) and select “Samples”. The page shows a table of samples in the current workspace, including their originating patient, their assigned name, original file name, and optional description, and the sample status.
The sample status field may be one of the following:
Pending: The sample was created and is awaiting file upload. This may be the case if uploading samples in a separate browser session, or after a sample file upload which was aborted by closing the browser.
Uploaded - Pending: The sample was created and any associated sample files successfully uploaded. The sample is now awaiting further processing.
Processing: The sample has been submitted for processing. For laboratory samples submitted to aitiologic GmbH, this entails laboratory processing and DNA sequencing, as well as subsequent data processing by the aitios® platform. For directly uploaded data files, this entails only data processing.
Processed: The sample has finished processing. Analysis reports are now available under the “Reports” section for the sample (see below for how to access reports).
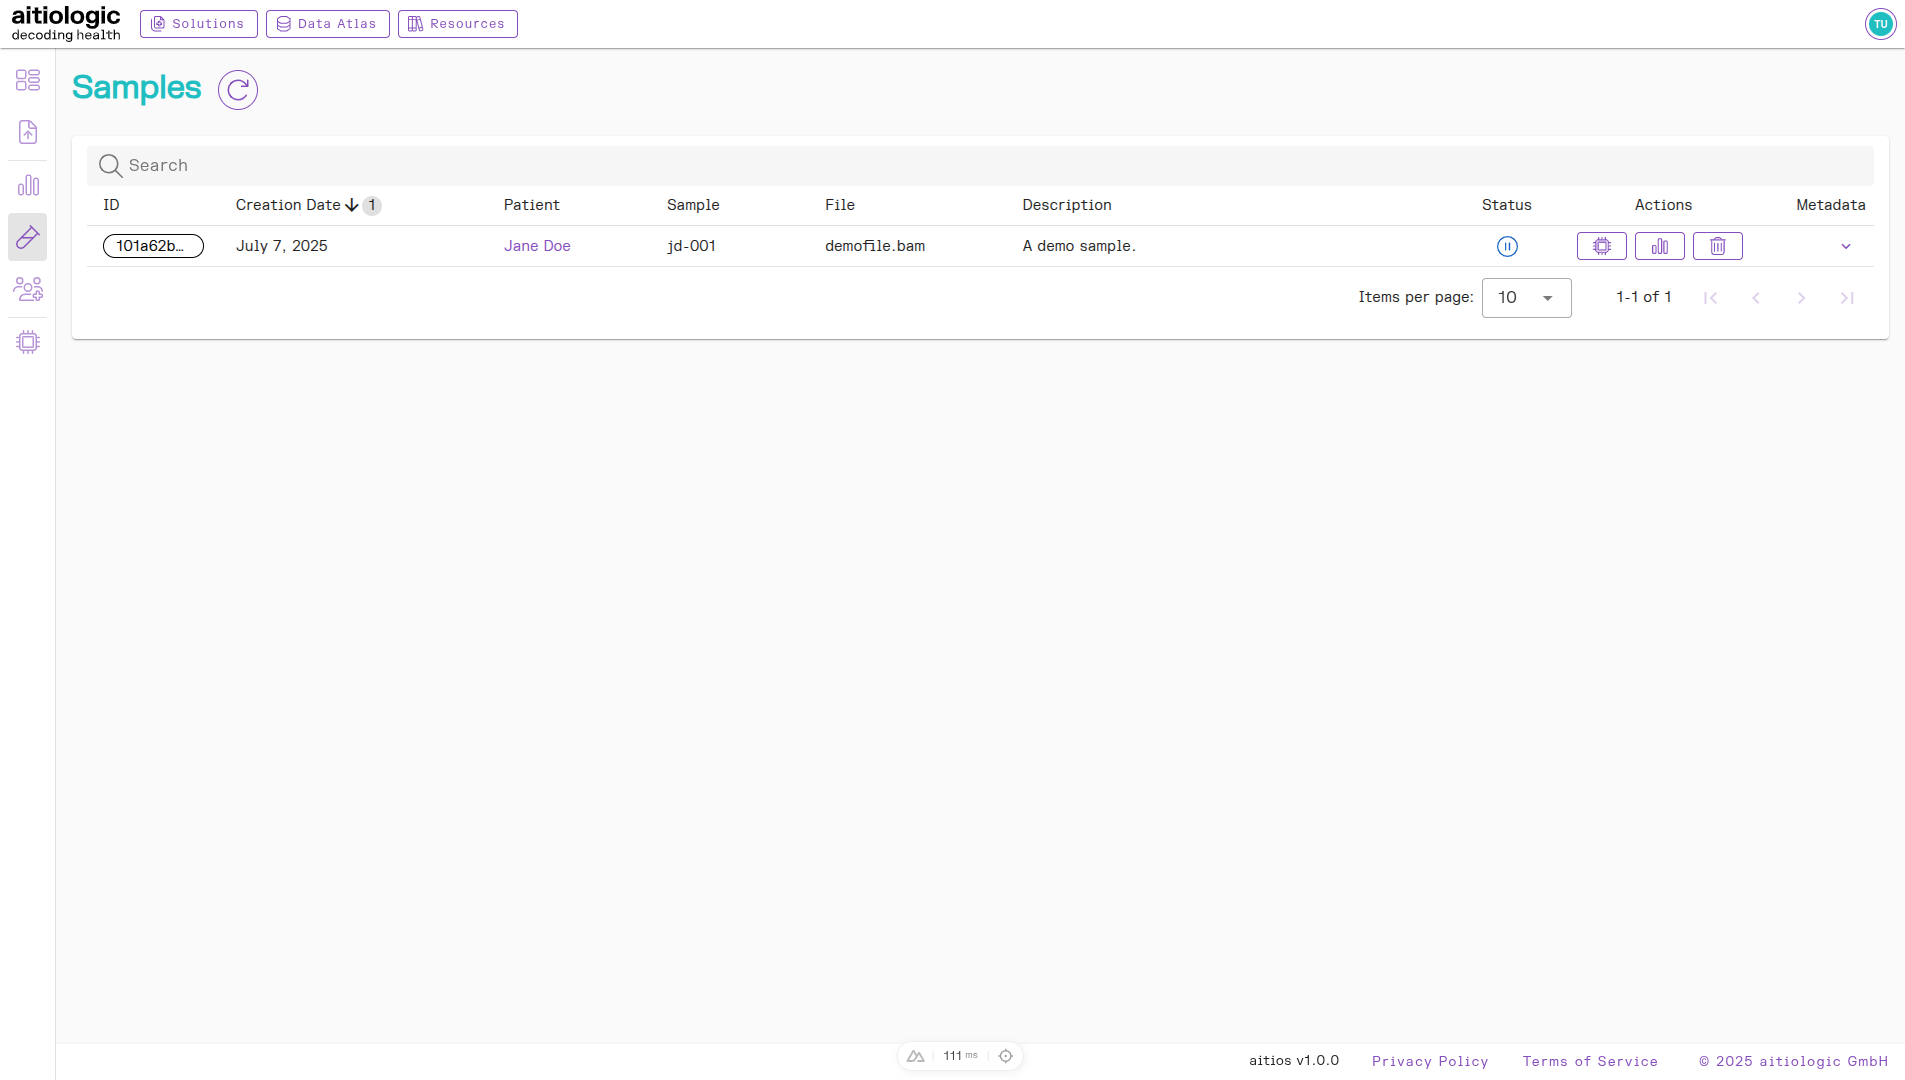
The Samples page.
To delete individual samples, click the trash bin button under the “Actions” column. This action is only available in workspaces with the “Delete” permission set.
Note
Deleting samples will also delete any subordinate data associated with the sample, including job executions and resulting analysis reports. Originating patients will not be deleted.
Listing Processing Jobs
Hover over the left sidebar (causing it to expand) and select “Jobs”. The page shows a list of data processing jobs associated with the current workspace. When submitted samples processed with an aitios® data processing pipeline, the executing job appears here, linked to the patient and sample in question. The current status of the processing job is noted here as well.
The job status may be one of the following:
Pending: The processing job was created and is queued for submission to the aitiologic compute infrastructure for processing.
Processing: The processing job was started and is currently running.
Succeeded: The processing job completed without errors. All specified analysis report have been created for the sample.
Error: The processing job completed with errors. An error report has been created for the sample.
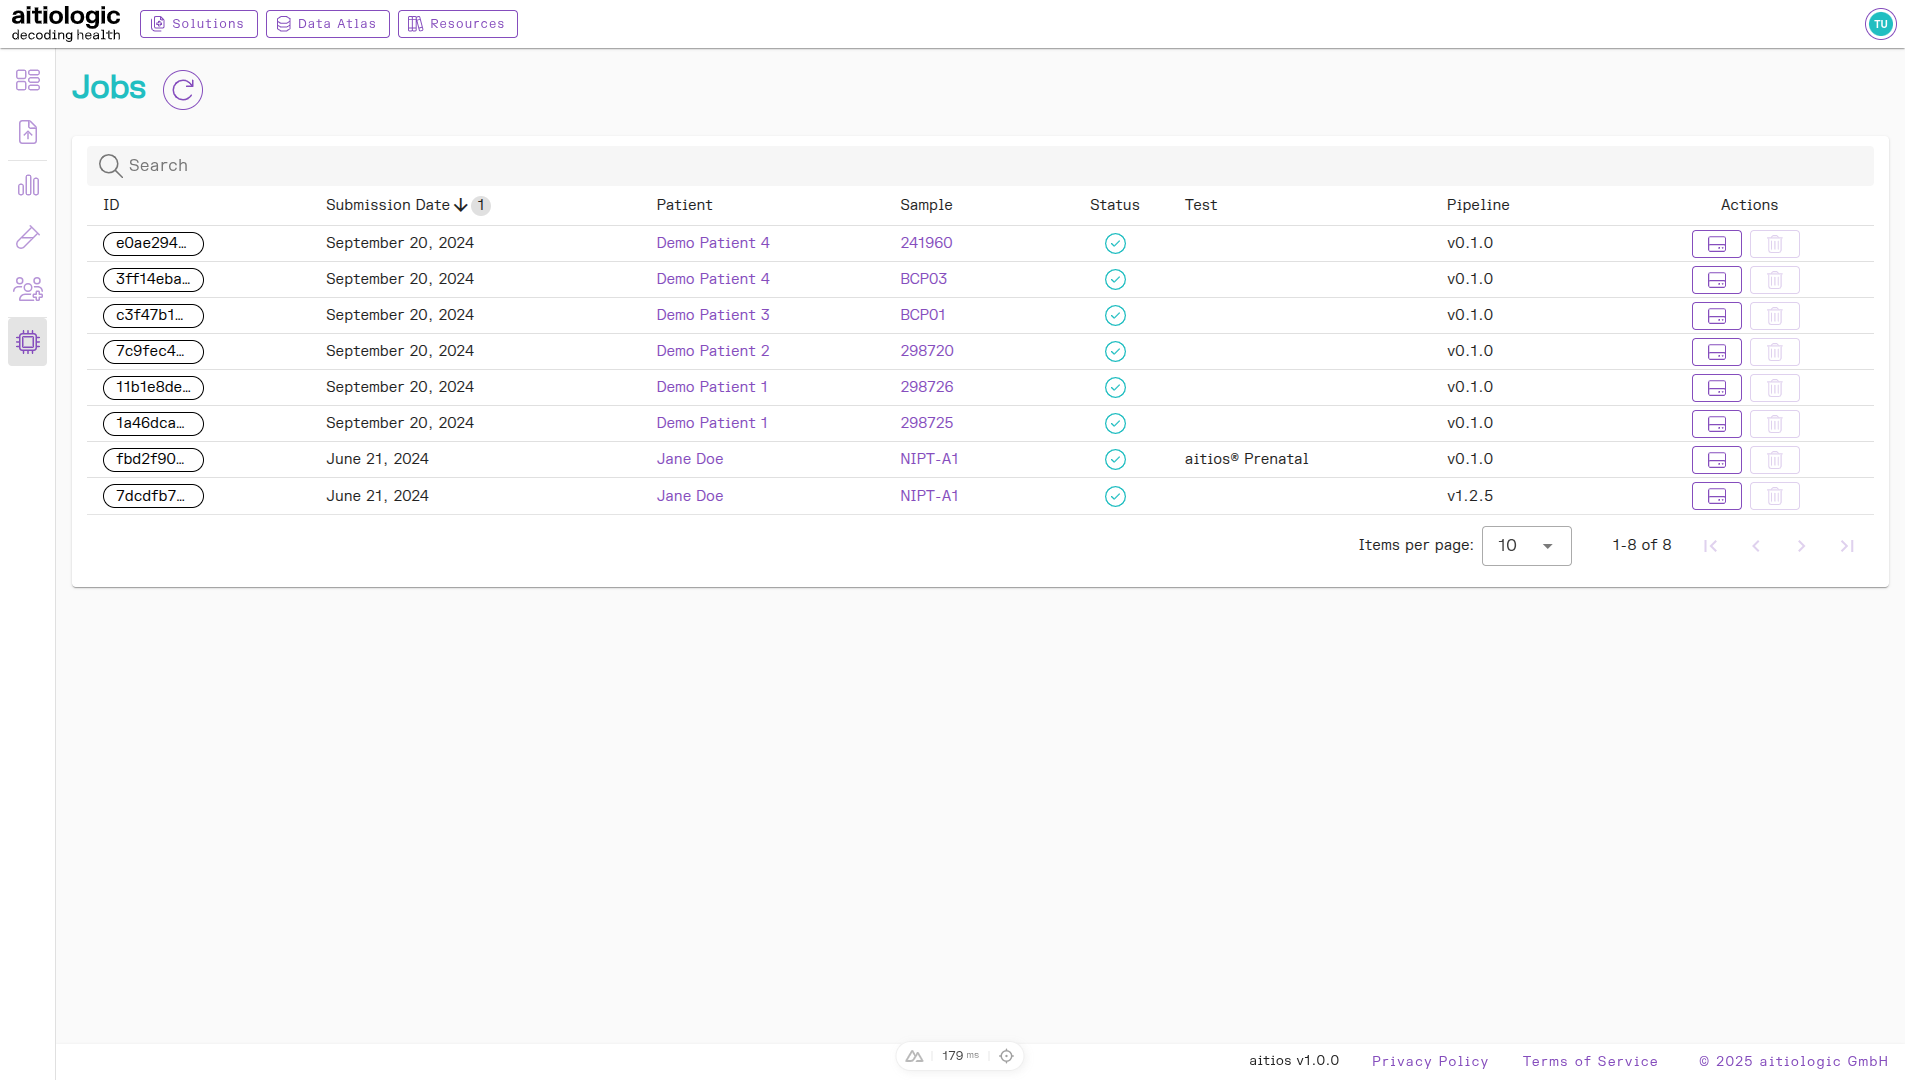
The Jobs page.
Listing Reports
Hover over the left sidebar (causing it to expand) and select “Reports”. The page shows a table of analysis reports in the current workspace, including their originating patient and sample, the processing job, the report name and type, as well as the name of the processing pipeline used in the processing job.
Processing pipelines correlate with the selected aitios® solution to be applied to samples:
aitios TOOC: DNA sequencing quality control (QC) and origin classification (OC) of sequenced reads only.
aitios NIPT/PE: DNA sequencing QC, read origin classification, Preeclampsia (PE) risk prediction and non-invasive prenatal testing (NIPT) analysis. The latter encompasses calling of fetal chromosomal aberrations, subchromosomal aberrations and genomic variants.
Note
Processing with the aitios® Prenatal pipeline produces both a TOOC and a NIPT/PE report for the processed sample.
To open a report, click the button with the document icon in the “Actions” column. See below for information on how to interpret analysis reports.
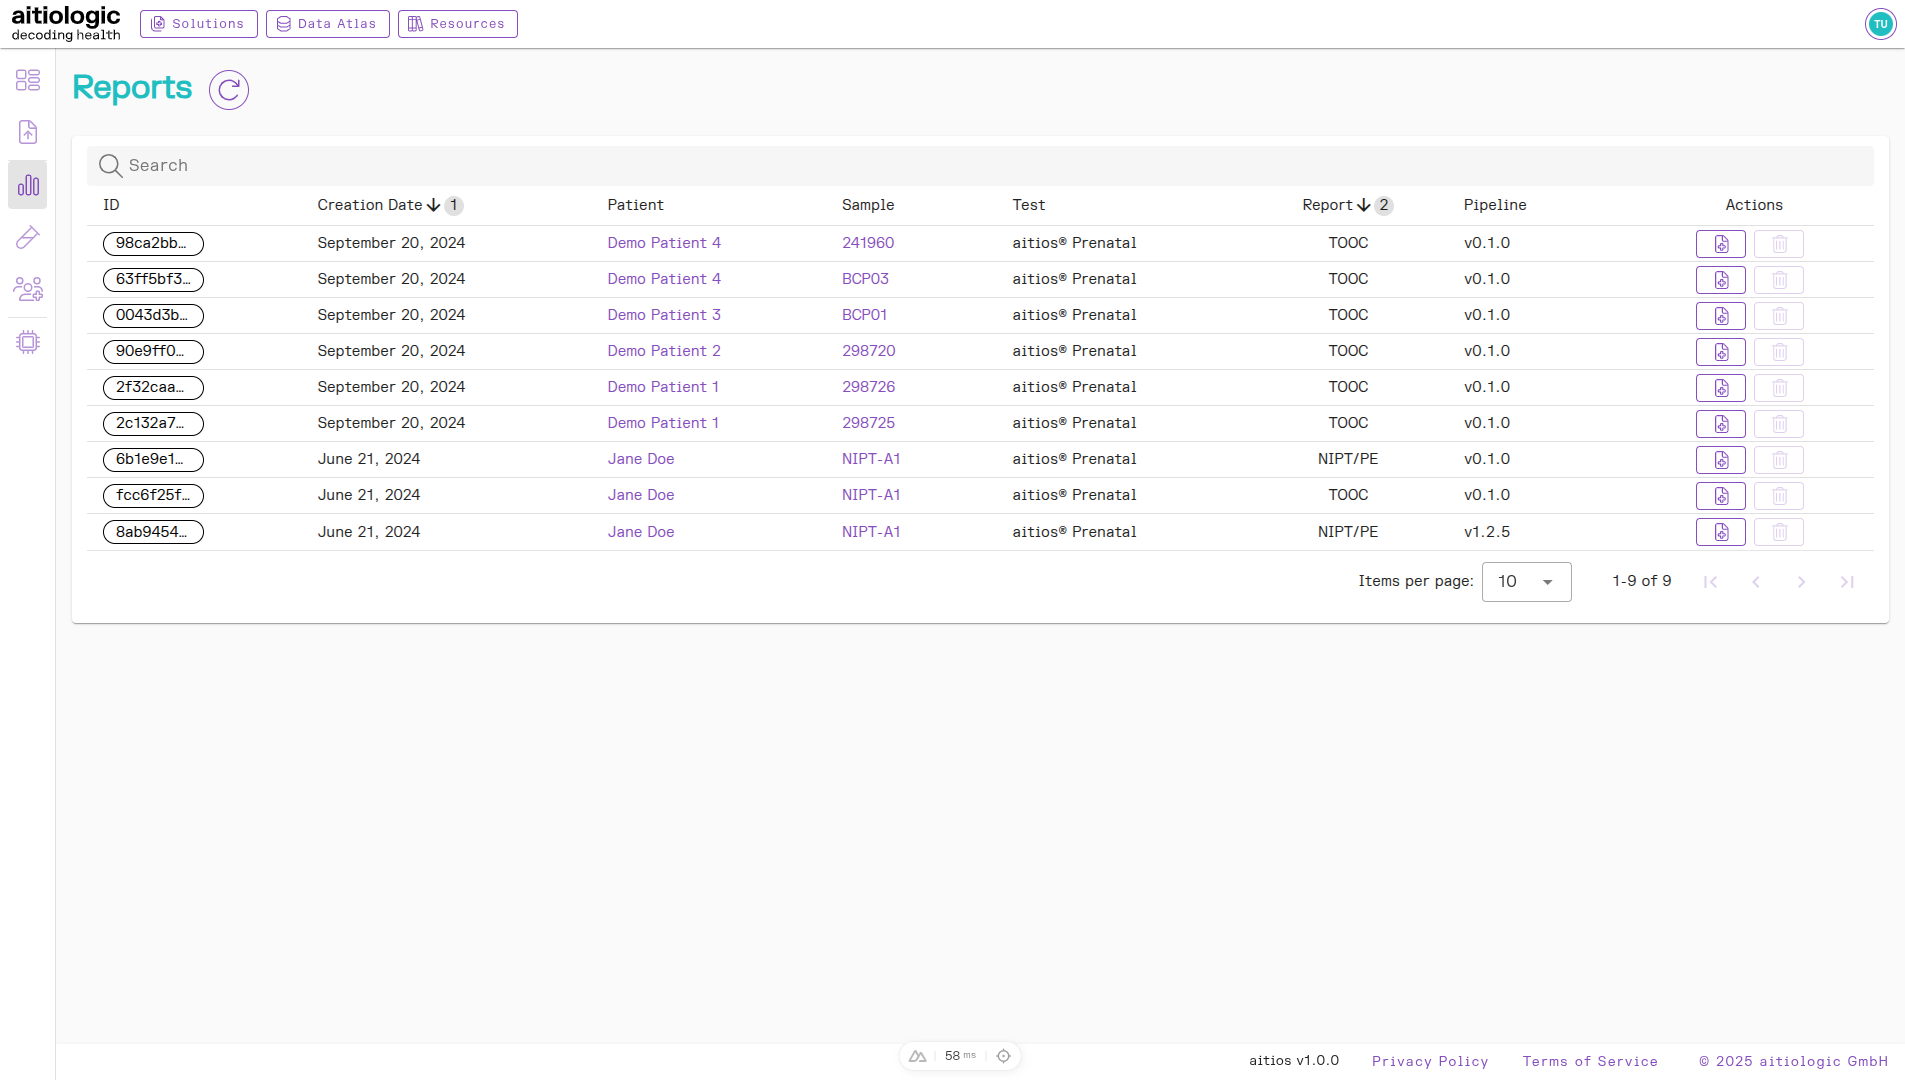
The Reports page.
Metadata Management
Metadata items may be added to patients and samples after upload. Each metadata item is represented by a key-value pair wherein the key is the (pre-defined) name of a characteristic (e.g.: “Date of Birth”) and the value (provided by the user) is the manifestation of that characteristic (e.g., “02/14/1992”).
To add metadata items, hover over the left sidebar (causing it to expand) and select either “Patients” or “Samples”. After navigation, choose the data row to change, and select the down-facing arrow in the column “Metadata”. This will open a (possibly empty) list of metadata items already assigned to the data row. Click “Add” to open a dialog for adding a new metadata item. Select the name of a metadata key, and supply the value. Click “Add” to confirm creation of the metadata item.
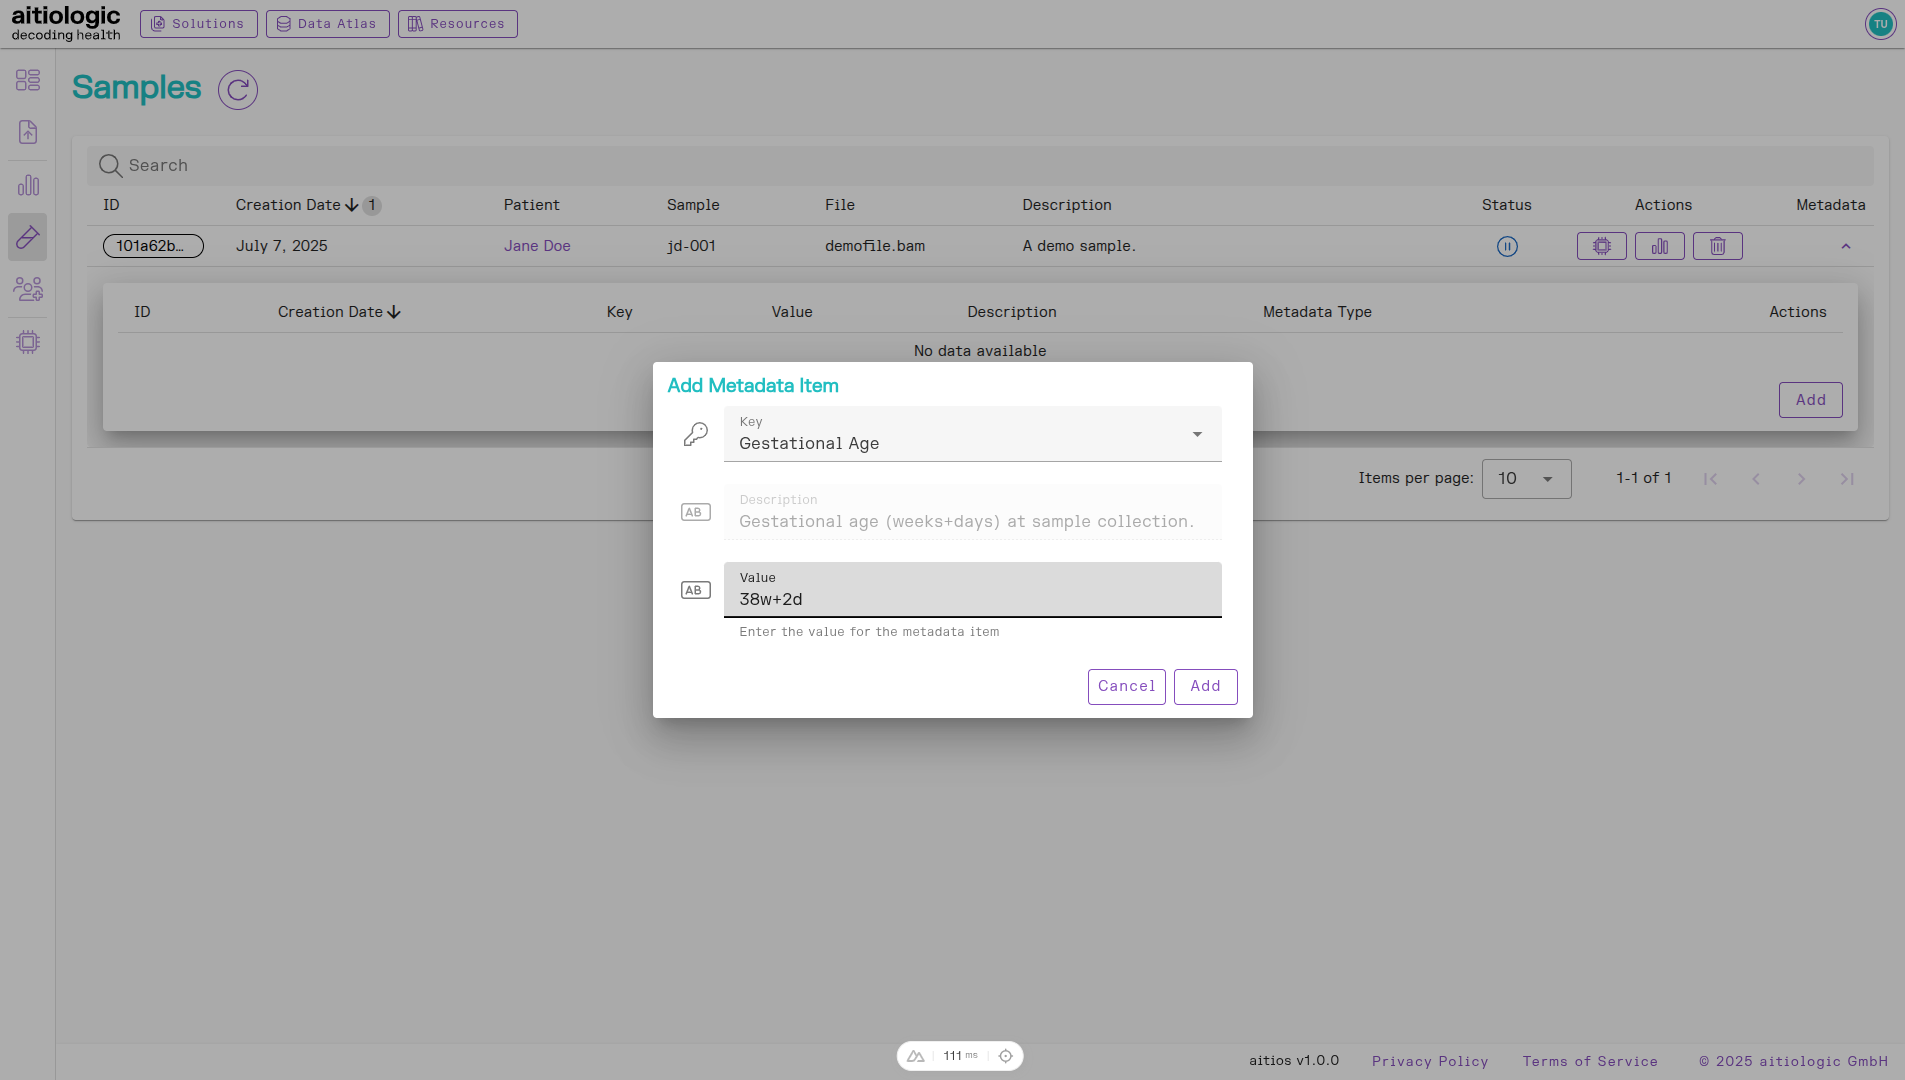
The sample metadata creation dialog.
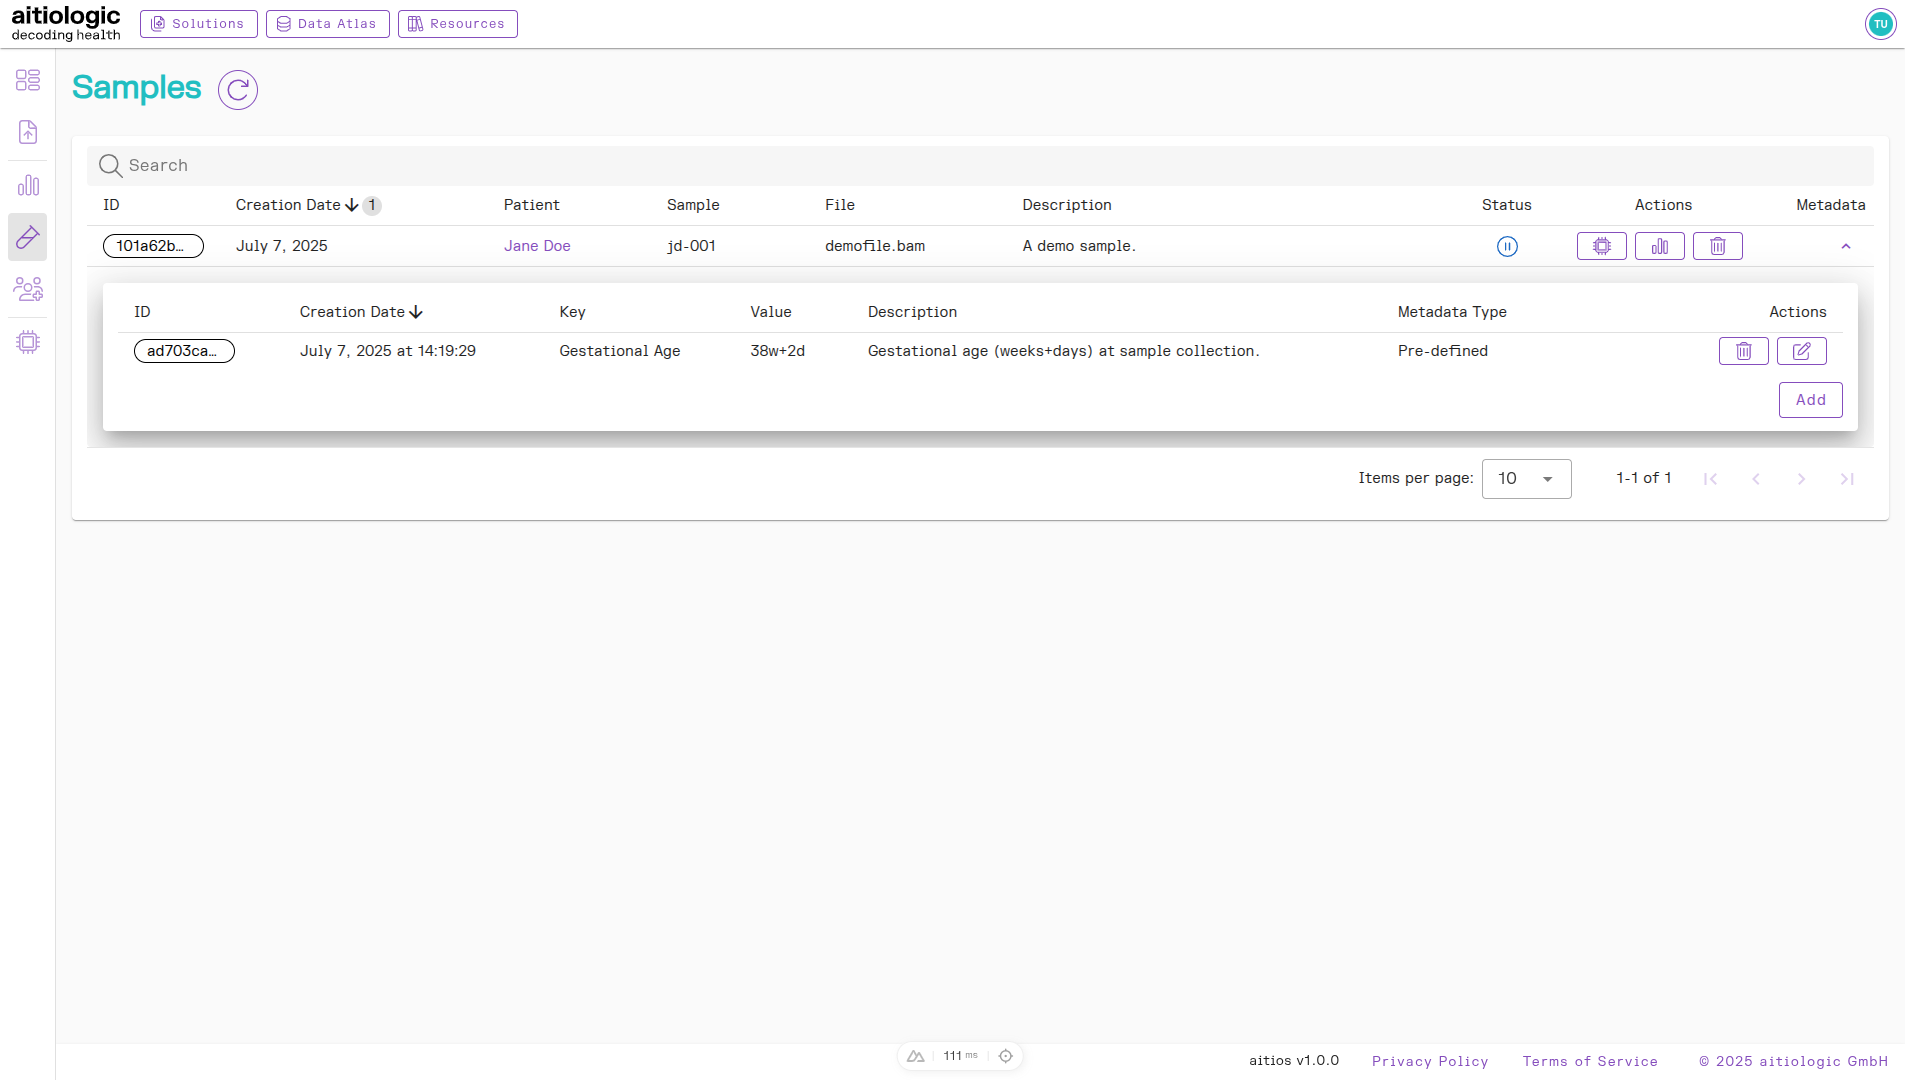
The newly created metadata item for the sample.